 GraceSheetKids
Bible Worksheet Checklist: What to Review Before Printing
Before printing a Bible worksheet, review five things: its connection to the passage, the task, the wording and answers, the reading demand, and the final print view. Use the same checks for a downloaded printable, a teacher-made page or an AI-generated worksheet.
The question from our Instagram post is a useful starting point: “Before I print, what will we talk about?” A page should have a role in the lesson before it has a place in the printer.
This is a fictional AI-assisted illustration. The blank papers are props, not actual GraceSheetKids worksheets or a customer example.
1. Can you connect the page to the passage?
Keep the passage open and name the event, relationship or idea the page asks children to notice. Check the reference and the context. A familiar Bible character or an attractive picture is not enough to establish the connection.
If a scene comes from elsewhere in the account, decide whether to read that section too or leave the page out. For a passage-first selection process, see creating worksheets for your chosen passage.
2. Is there a clear task and discussion question?
Read the directions without relying on what you already know about the page. Could a child tell whether to circle, number, draw or write? If an adult needs to demonstrate the first step, plan that explanation.
Choose one question you can ask while the page is in use. Examples include “Which part shows what we read?” or “What happened before this moment?” These are teacher-added prompts. They are not necessarily printed on a worksheet.
3. Have you checked the wording and answers?
Compare quotations with the Bible version you are using. Check summaries, names and event order against the account. Work through a puzzle or question yourself rather than assuming the answer key settles it.
If a prompt suggests an idea the passage does not support, revise it or choose a different page. Generated material is a starting point for a teacher's review, not a guarantee of accuracy.
4. Does the reading demand fit these children?
Think about who will read the instructions, how much writing the task requires and whether a child could respond aloud or by pointing instead. Children of the same age can need different support.
For a mixed group, keep the shared passage and adjust the response rather than expecting everyone to complete an identical page. See our mixed-age Sunday school lesson for drawing, retelling and text-based options.
5. Have you checked the final print view?
- Confirm A4 or US Letter to match your paper and printer settings.
- Check readable text, enough answer space and sensible page breaks.
- Look for missing or cropped pictures and instructions split from their task.
- Open the exported PDF when that is what you will print.
- If practical, inspect one printed copy before making the whole class set.
Choosing Ink-Saver is a presentation setting, not a measured promise about the amount of ink your printer will use. A readable page and a checked print preview still matter.
Try the checklist on a real existing page
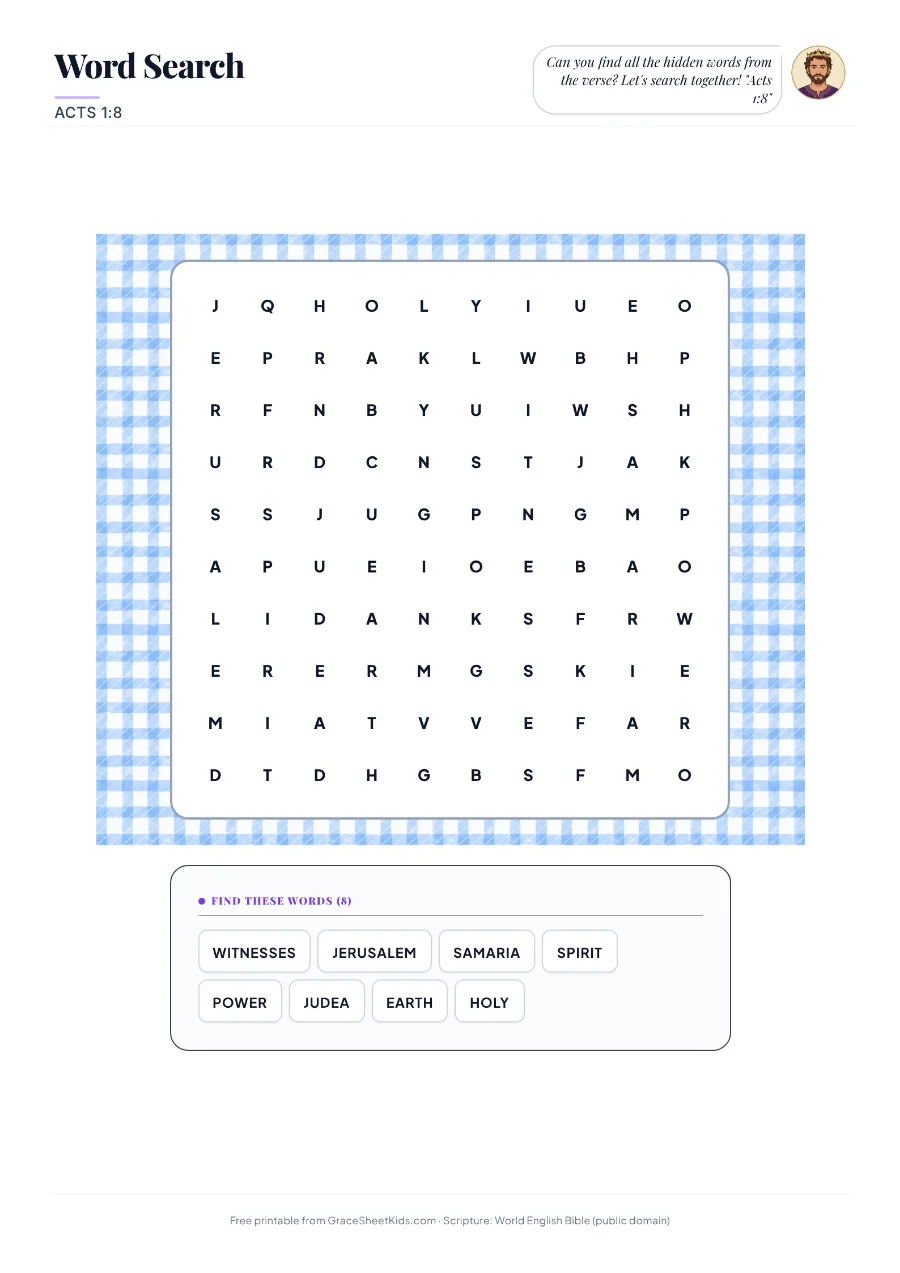
This is an existing public worksheet sample for ages 6–10, not a new output produced for this article. Open the Acts 1:8 Word Search page to inspect its PDF and answer key. Ask which words connect to the passage, how you would explain the task, and whether the page fits your readers. It is an example for practising a review, not a recommendation for every lesson.
Keep this short review beside the printer
Passage — Task — Wording and answers — Readers — Print view. If one of those checks does not pass, pause before making more copies. You can revise the page, change the task or leave it out.
The aim is a page you can explain and use with your group. It is not a promise of a particular memory gain or a reason to add more worksheets to a lesson.
Choose your passage and activities, then review the pages before class.
Start with your next passage →